
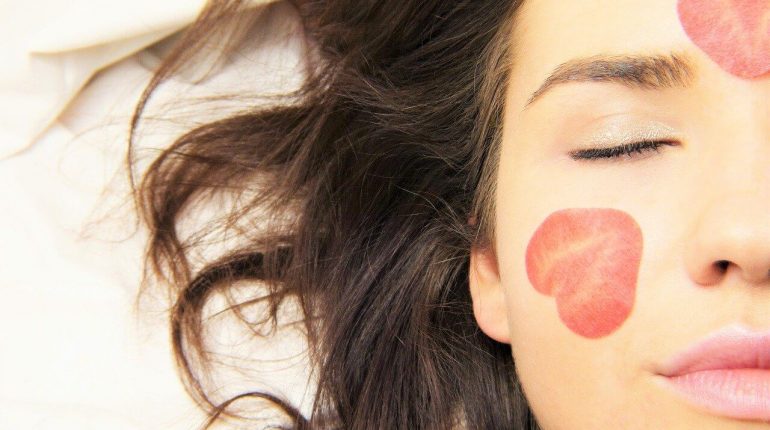
Keratin treatments are the best thing for taming hair, straightening unruly locks, and adding some much needed shine to your tresses. However, keratin treatments can be quite expensive if you get them done at the salon – have you ever wondered how to do the keratin treatment yourself? The good news is that it is possible, easy to do, and highly affordable.
What is keratin?
Keratin is a protein that is naturally found in hair (and feathers, wool, and horns of various different animals), and it is the element that protects the hair from stress and damage.
Keratin is often included in the ingredients of hair care products, because it can greatly improve the strength, shine and elasticity of the hair.
What is the keratin treatment?
Keratin treatment usually involves a trip to the salon, where your stylist will apply a keratin hair-straightening product to your hair, before using a flat iron to seal in the product.
It will take upwards of 90 minutes, depending on the length and thickness of your hair, and it promises you straighter, tamer locks, a smooth shine, and a complete eradication of frizzy fly aways.
Once your hair has been treated, you shouldn’t wash it for 3-4 days, to allow the treatment time to work. The results should last around 2-3 months.
This means that you will take far less time in the mornings getting ready, as there will be no need to straighten your hair, and very little need to do anything at all to it!
Does keratin treatment straighten the hair?
Although it can be marketed as a hair straightening treatment, the keratin treatment is more about relaxing your hair, and smoothing away frizziness. It is also a very good, nourishing boost for your hair, as it adds in the very chemical that makes it stronger naturally.
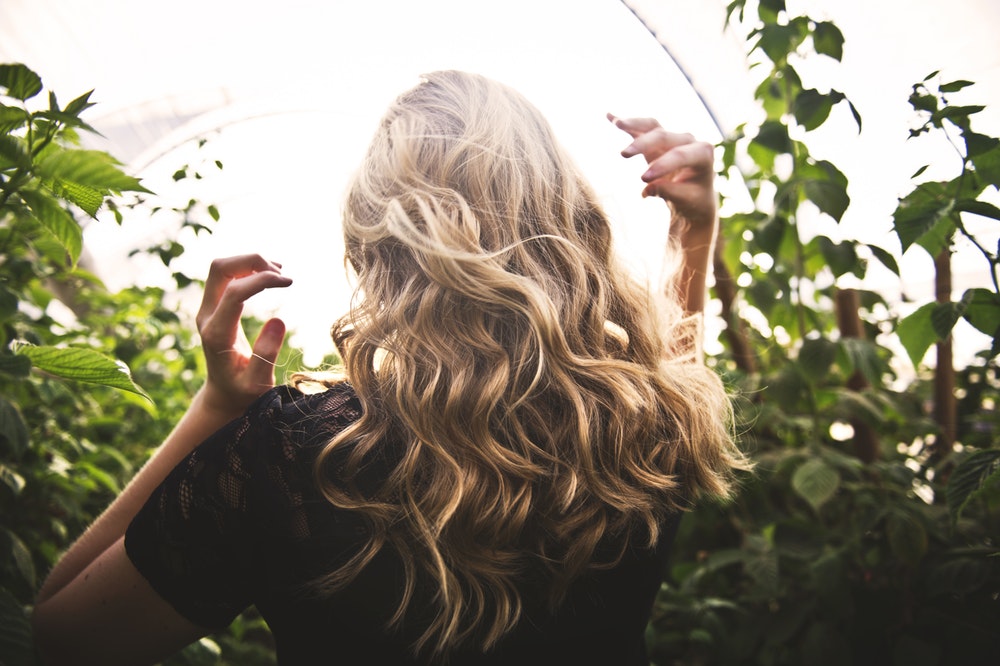
Having a keratin treatment will make your hair smooth and sleek, but it won’t banish curls entirely – it will, however, make it far easier to straighten your hair than it normally would be.
You can step out in all sorts of weather after a keratin treatment, and your hair won’t react wildly like it used to do; it makes the hair a lot more resilient.
What is the best keratin?
As with any hair care product, there is a vast amount of choice out there when you are looking for your keratin. It can be hard to know which one to go for, so make a budget, and look for one that doesn’t contain Formaldehyde.
You can also find keratin that contains various natural oils, like Argan oil or Coconut oil, which will help to nourish your hair and scalp and add even more shine and smoothness.
Is keratin expensive?
If you go to a salon, you could end up paying a fair whack for your keratin treatment. This, obviously, will depend on the salon and their prices, but you should expect to pay around £200.
If you do the keratin treatment yourself it will be much cheaper, as you are only paying for the ingredients, not the actual job.
How to do the keratin treatment yourself
- The first step is to choose your keratin. Some keratin can change the shade of your hair, so go for one that matches your natural colour (unless you’re after a different look!)
- Check the reviews of the product. It’s always worth noting other people’s experiences with any hair care product; although bear in mind that everyone’s hair is different, and what didn’t work for one person may be perfect for you.
- Avoid keratin that contains Formaldehyde. This is a chemical that can cause health problems such as allergic reactions, eye and nose irritation – and is even linked to cancer.
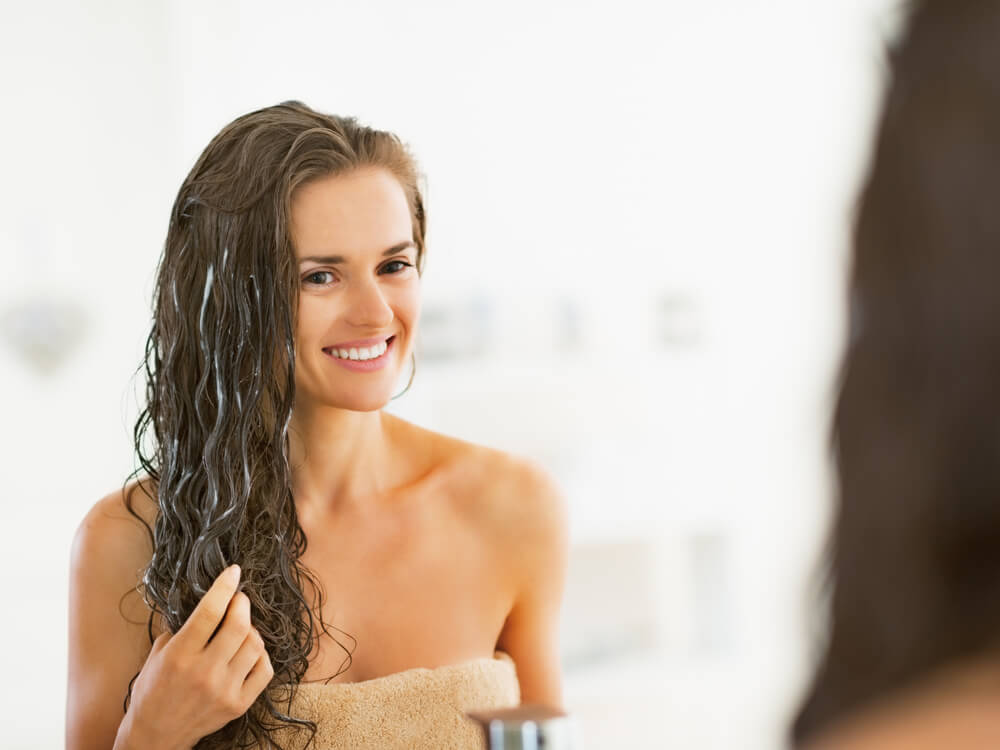
- Wash your hair with an anti residue, or clarifying, shampoo, working it into a lather and allowing it to sit for 3-5 minutes before you rinse it out. This will prepare your hair for the keratin treatment and mean that it is more likely to fully absorb it.
- Dry your hair fully, if you are using a keratin A Brazilian treatment requires hair to be slightly damp, and as these terms are often used interchangeably it’s important to be sure which type you are using.
- Part your hair and separate it into 4 or 8 sections, depending on how much hair you have (the general rule is part in the middle, and separate the side layers into either two or four depending on the length and thickness of your hair).
- Apply the keratin to your hair, having first thoroughly read the instructions on your particular treatment. Do this using firstly your hands (wearing gloves) and then comb it into your hair using a fine toothed comb or a colouring brush. When you finish completely coating one section, clip it up out of the way before you start on the next section.
- Cover your hair with a shower cap, or cling film and a warm towel, and let it sit for at least 30 minutes.
- Remove the cap and blow dry your hair – you should not wash the product out, unless your particular product states otherwise.
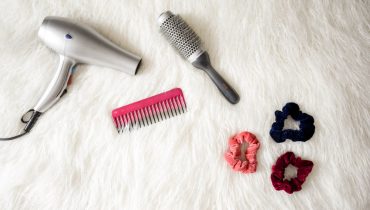
- Using a flat iron set to the recommended temperature, straighten your hair in sections of about 1-2 inches thick. Ensure the iron is not too hot as this can cause your hair to scorch.
- Leave off washing your hair for at least 3 days. If you can leave it as long as a week, so that the product has a long time to work its way into the hair, then so much the better!
- Avoid tying up your hair for a couple of days, if you can. Clips and ties can leave unwanted kinks in your hair and ruin the treatment.
- When you do wash your hair, make sure to use a shampoo that doesn’t contain sulphates. A gentle shampoo is much better for the hair, and is more likely to allow the treatment to set in well.
Final words
As you can see, home keratin treatments are definitely possible. They are easy to do, cheap to apply, and if you follow the instructions you should look as though you have just stepped out of the salon – for a fraction of the cost!